
If you are manually processing sales and purchase orders and often have to deal with customer complaints, correcting errors can be a nightmare. However, if you are using an Electronic Data Interchange or EDI solution that can help you correct errors easily and speed up the processing of sales and purchase orders, you will have happier customers.
At To-Increase, we understand customer challenges and build solutions that simplify day-to-day tasks, such as exchanging sales and purchase orders. Therefore, we have built an EDI software – EDI Studio for Microsoft Dynamics 365 Finance & Supply Chain Management (D365 F&SCM) that also helps with business error handling.
In this blog, we will demonstrate how easy it is to execute a purchase or sales order using our EDI tool for D365 F&SCM.
Executing an order using EDI Studio
EDI 850 or an order transaction, is one of the most commonly exchanged documents using EDI. During demos, we are constantly asked by customers to showcase how to create a purchase or sales order using EDI Studio so below is the process.
When you log into Microsoft Dynamics 365, on the dashboard, on the modules on the left you click on Accounts Payable, and under Purchase Orders you can see all Purchase orders, and under Accounts Receivable, you can see the Customers and Sales Order options.
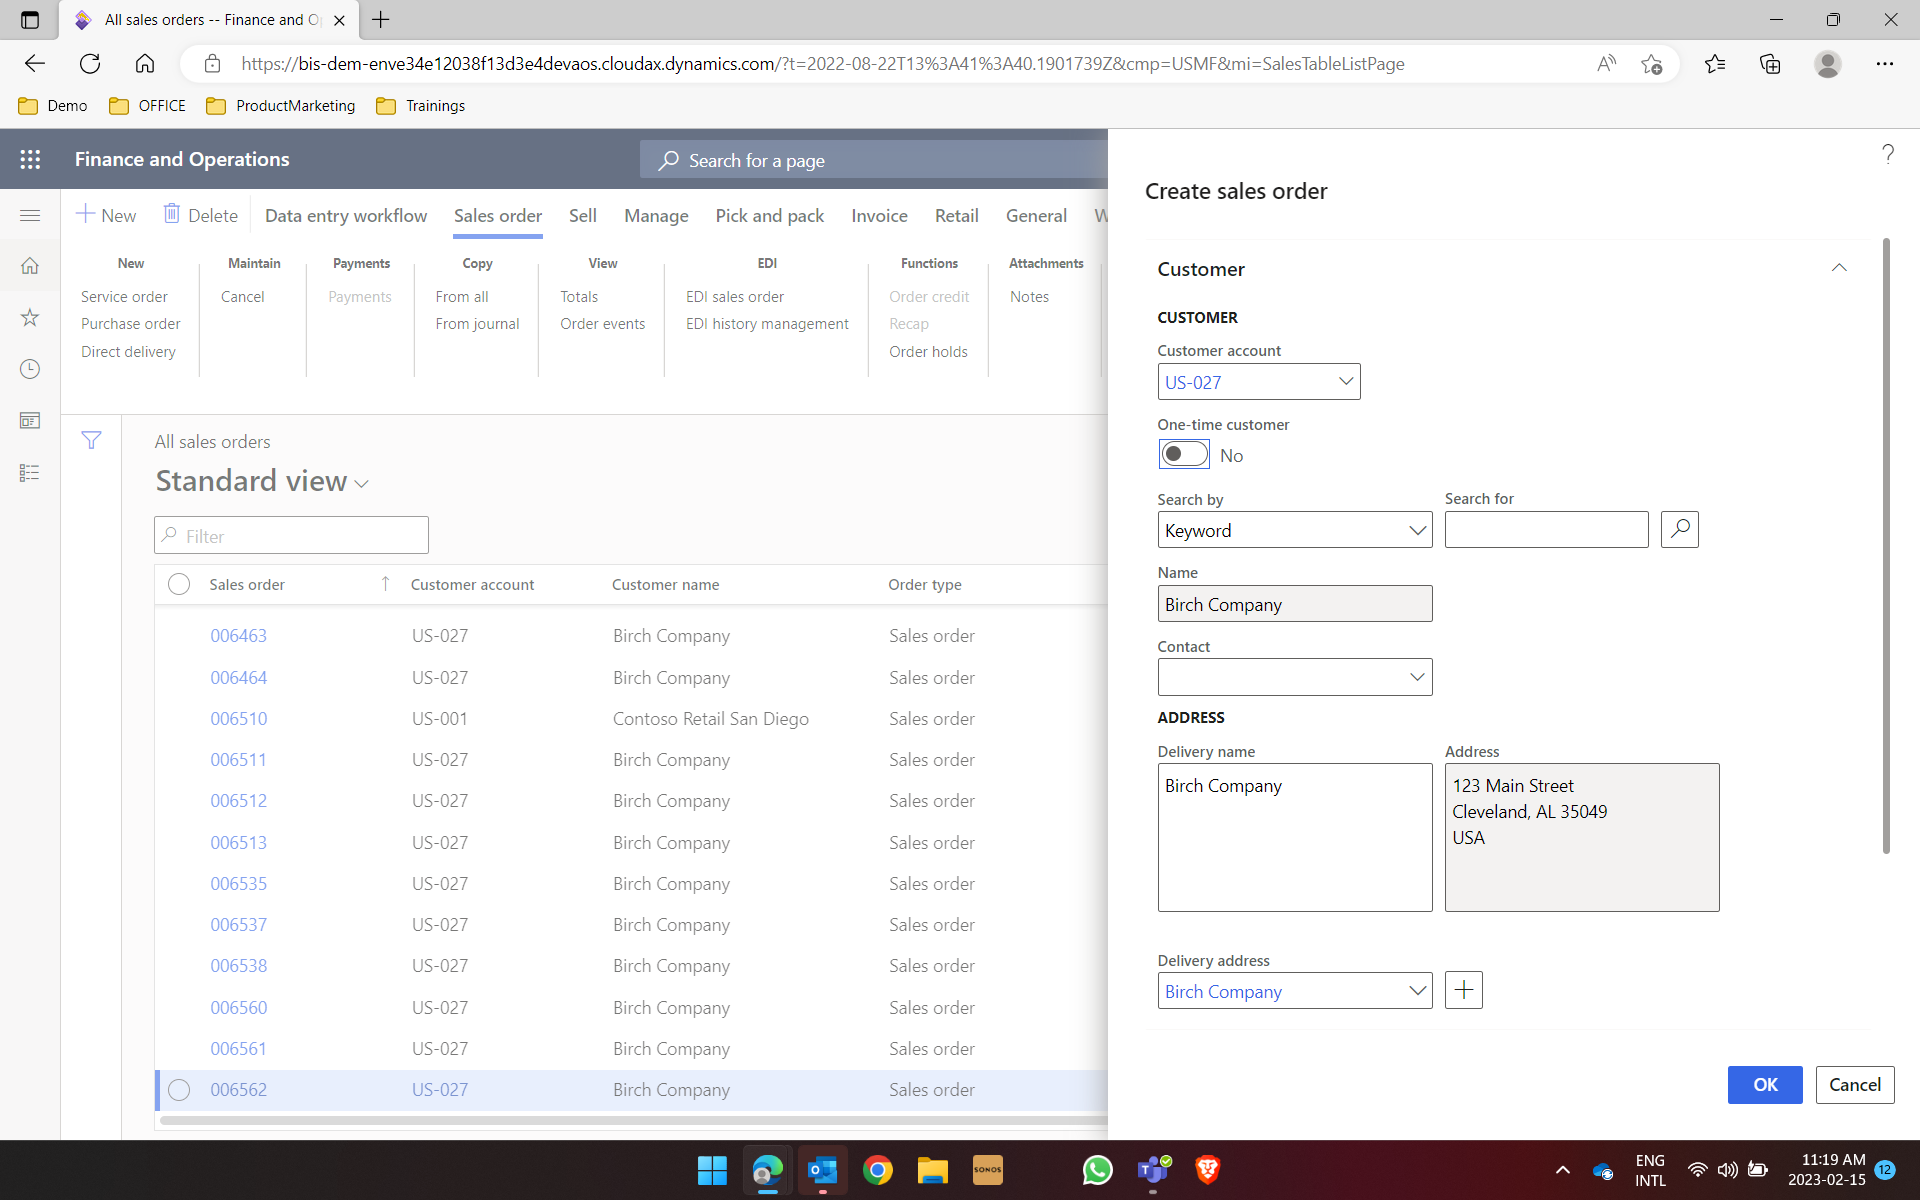
Step 1
You can create a sales order by clicking on the New tab on the top left, and D365 will generate a form. Once you enter the customer number, the system will pull all related information from the database and populate some fields. Once you click on OK, you will be able to see the Sales order page.
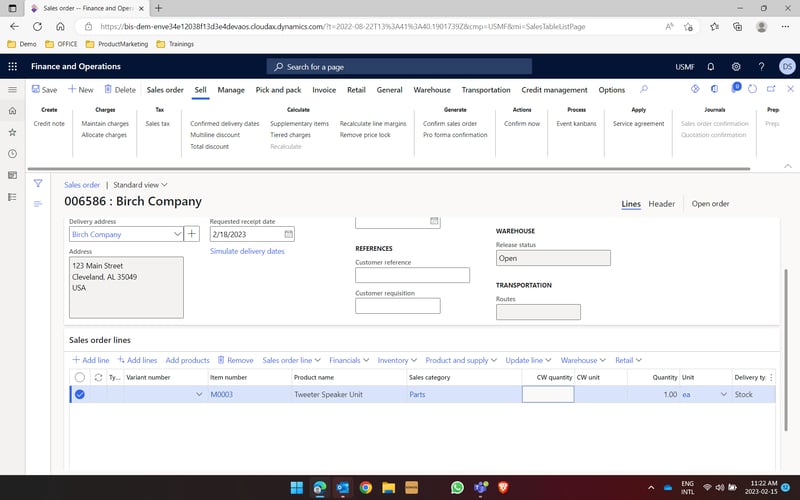
Step 2
After you fill in the form, you need to add in the details of what is being sold to the customer, so details such as product/item number, units, quantity, and warehouse details. If you are adding multiple items, you can add those too in the same way.
Step 3
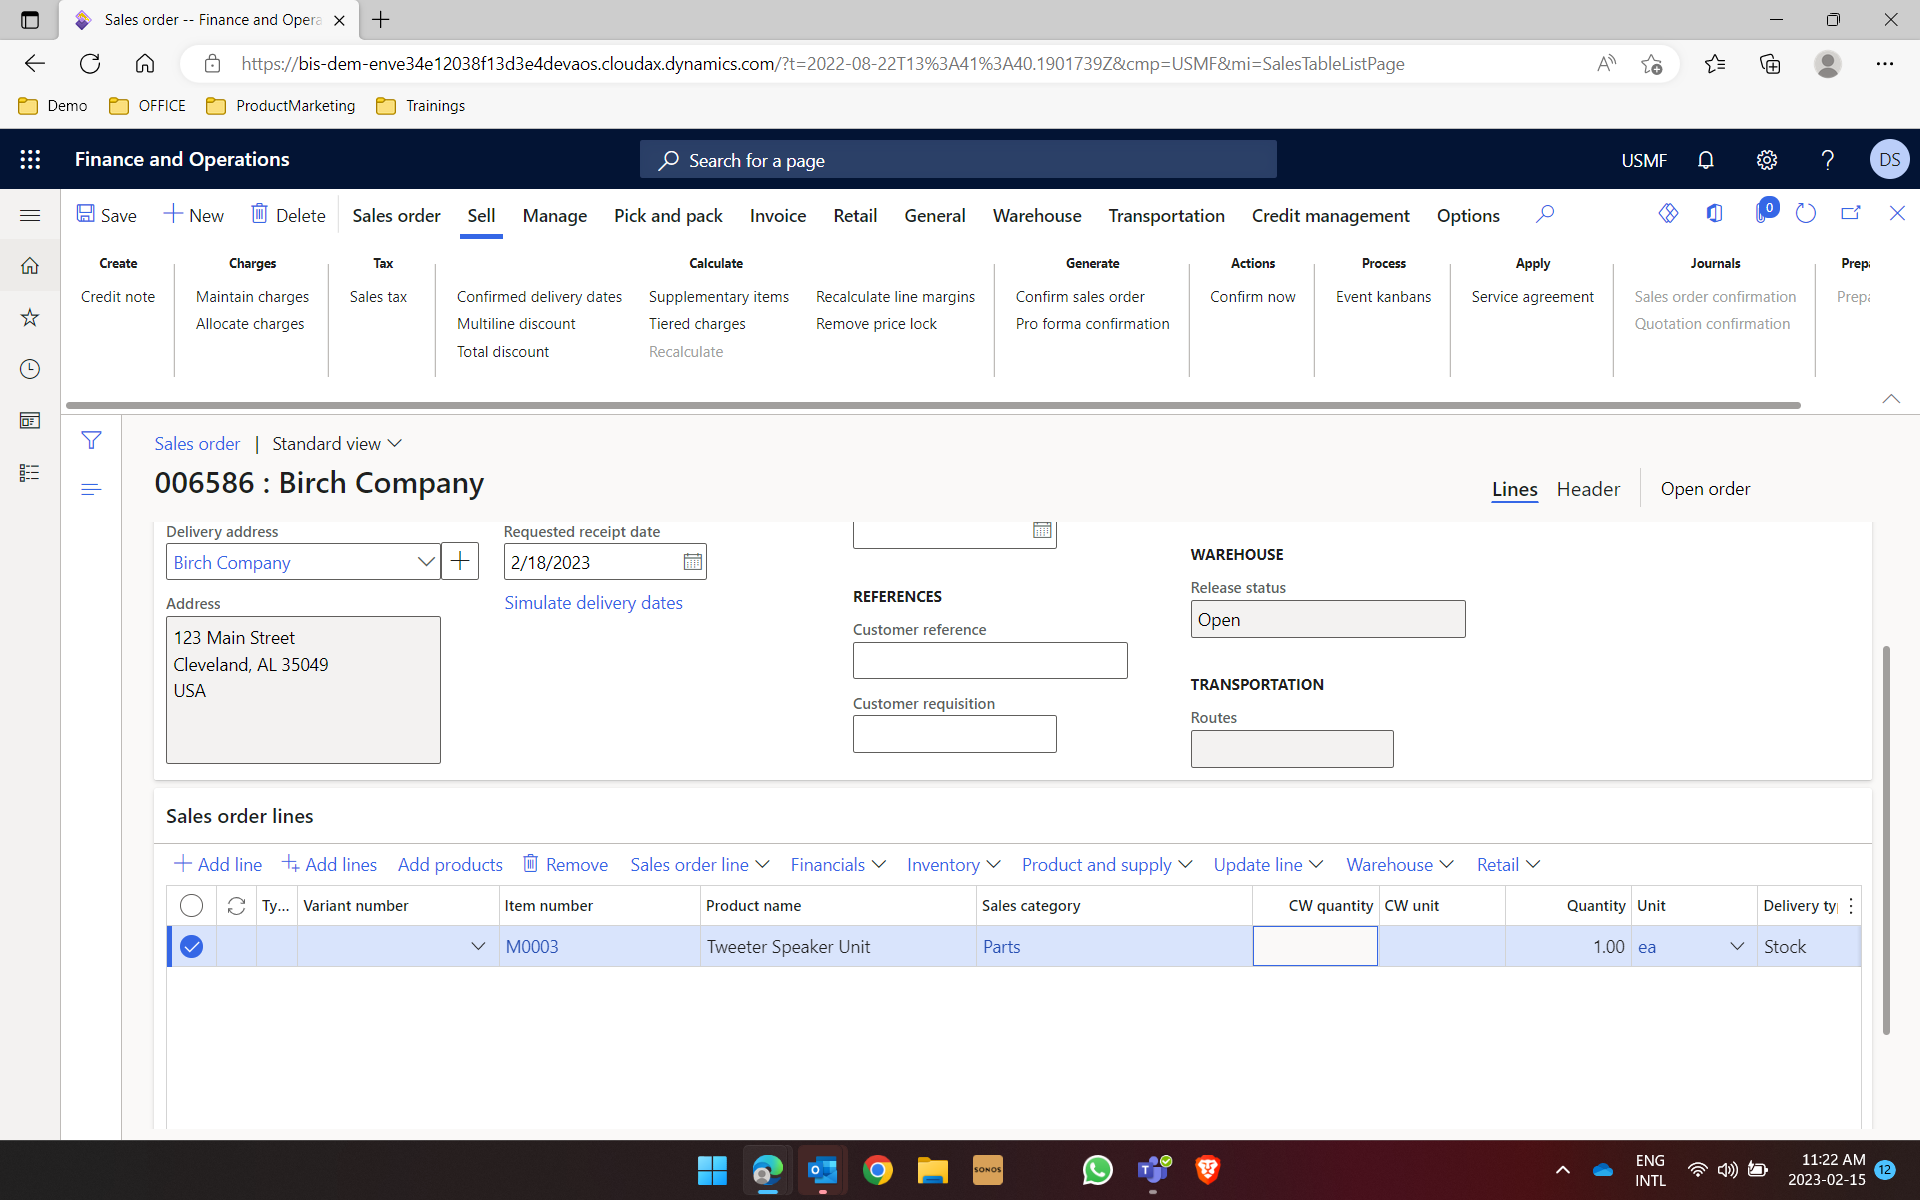
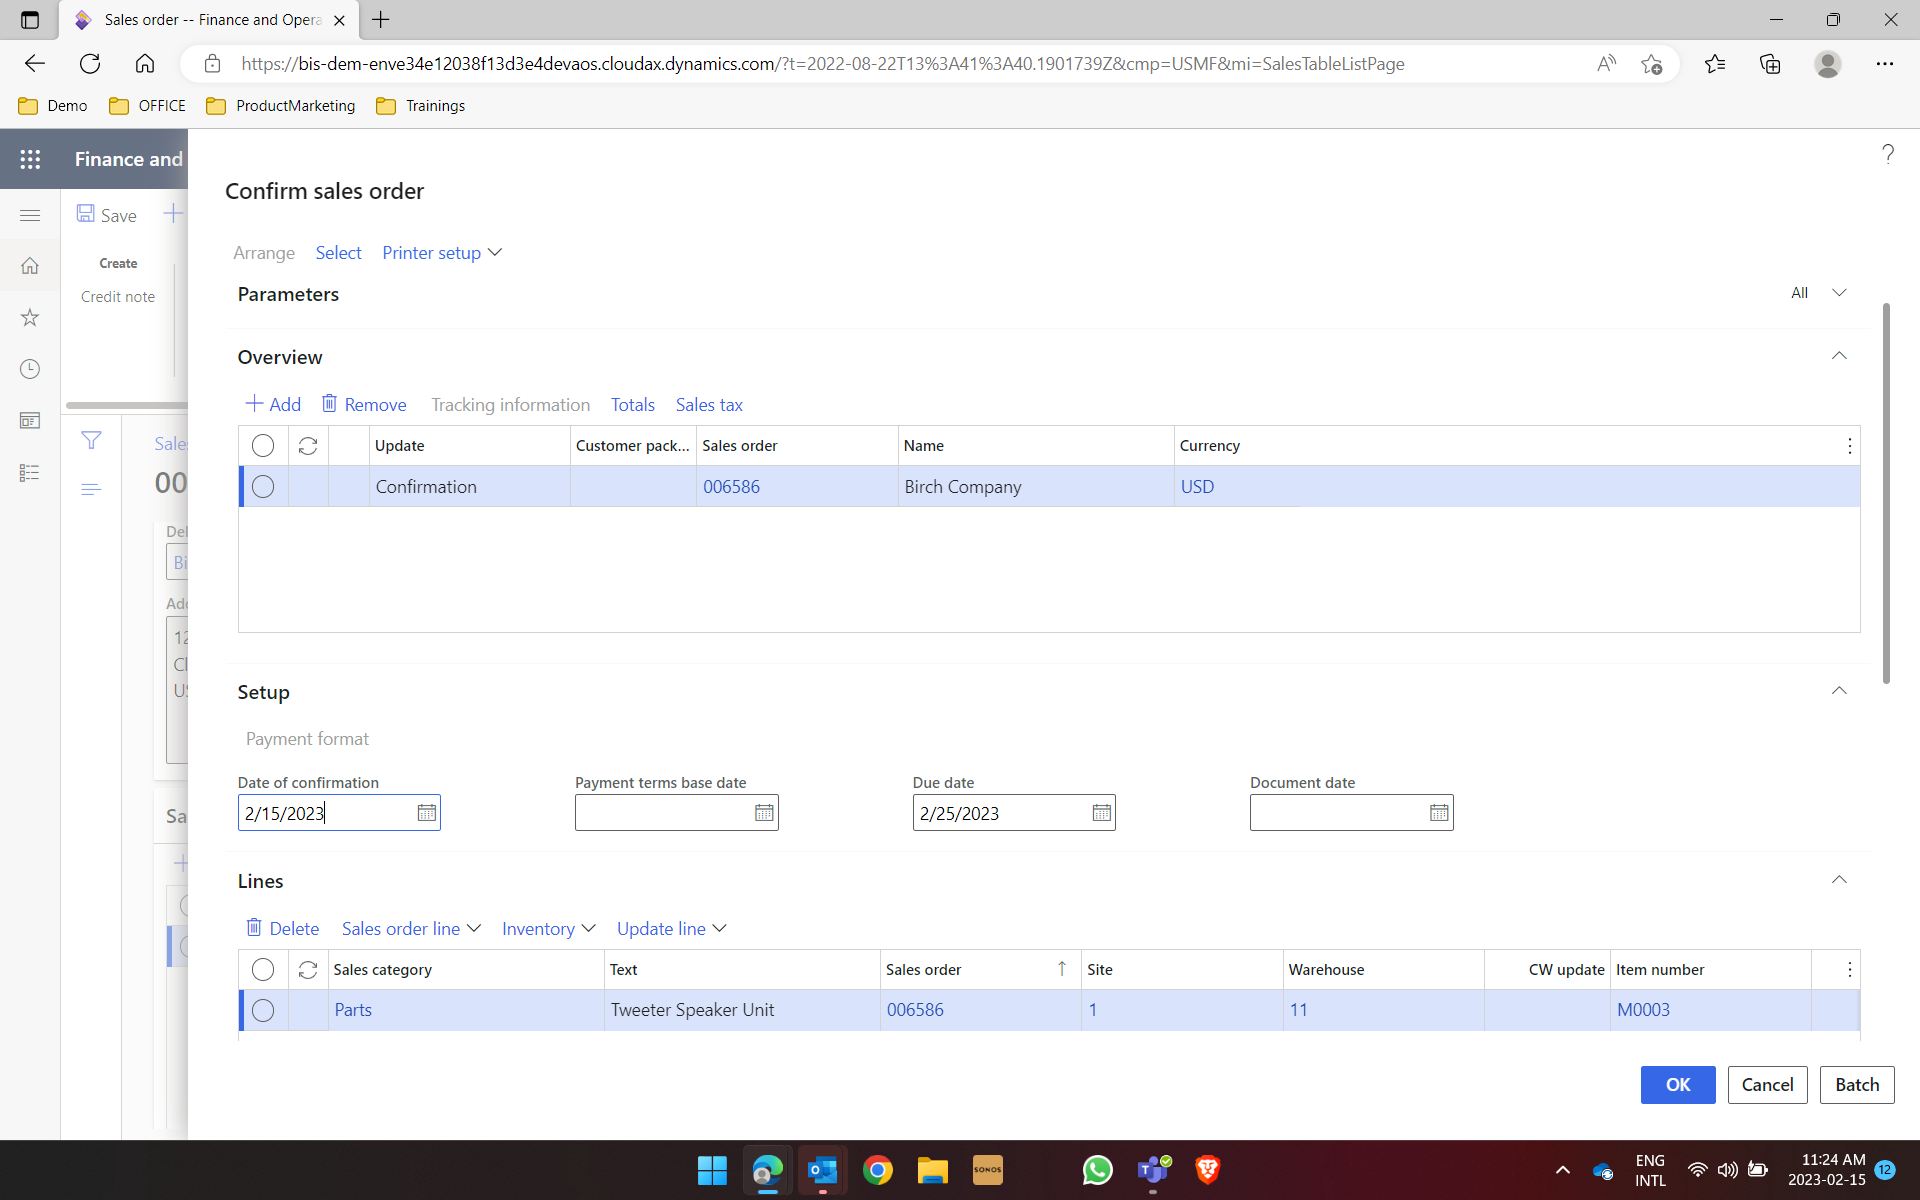
Since this is an open order, it needs to be confirmed in the system, therefore the next step is to confirm the sales order by clicking on the Confirm sales order under the Generate tab.
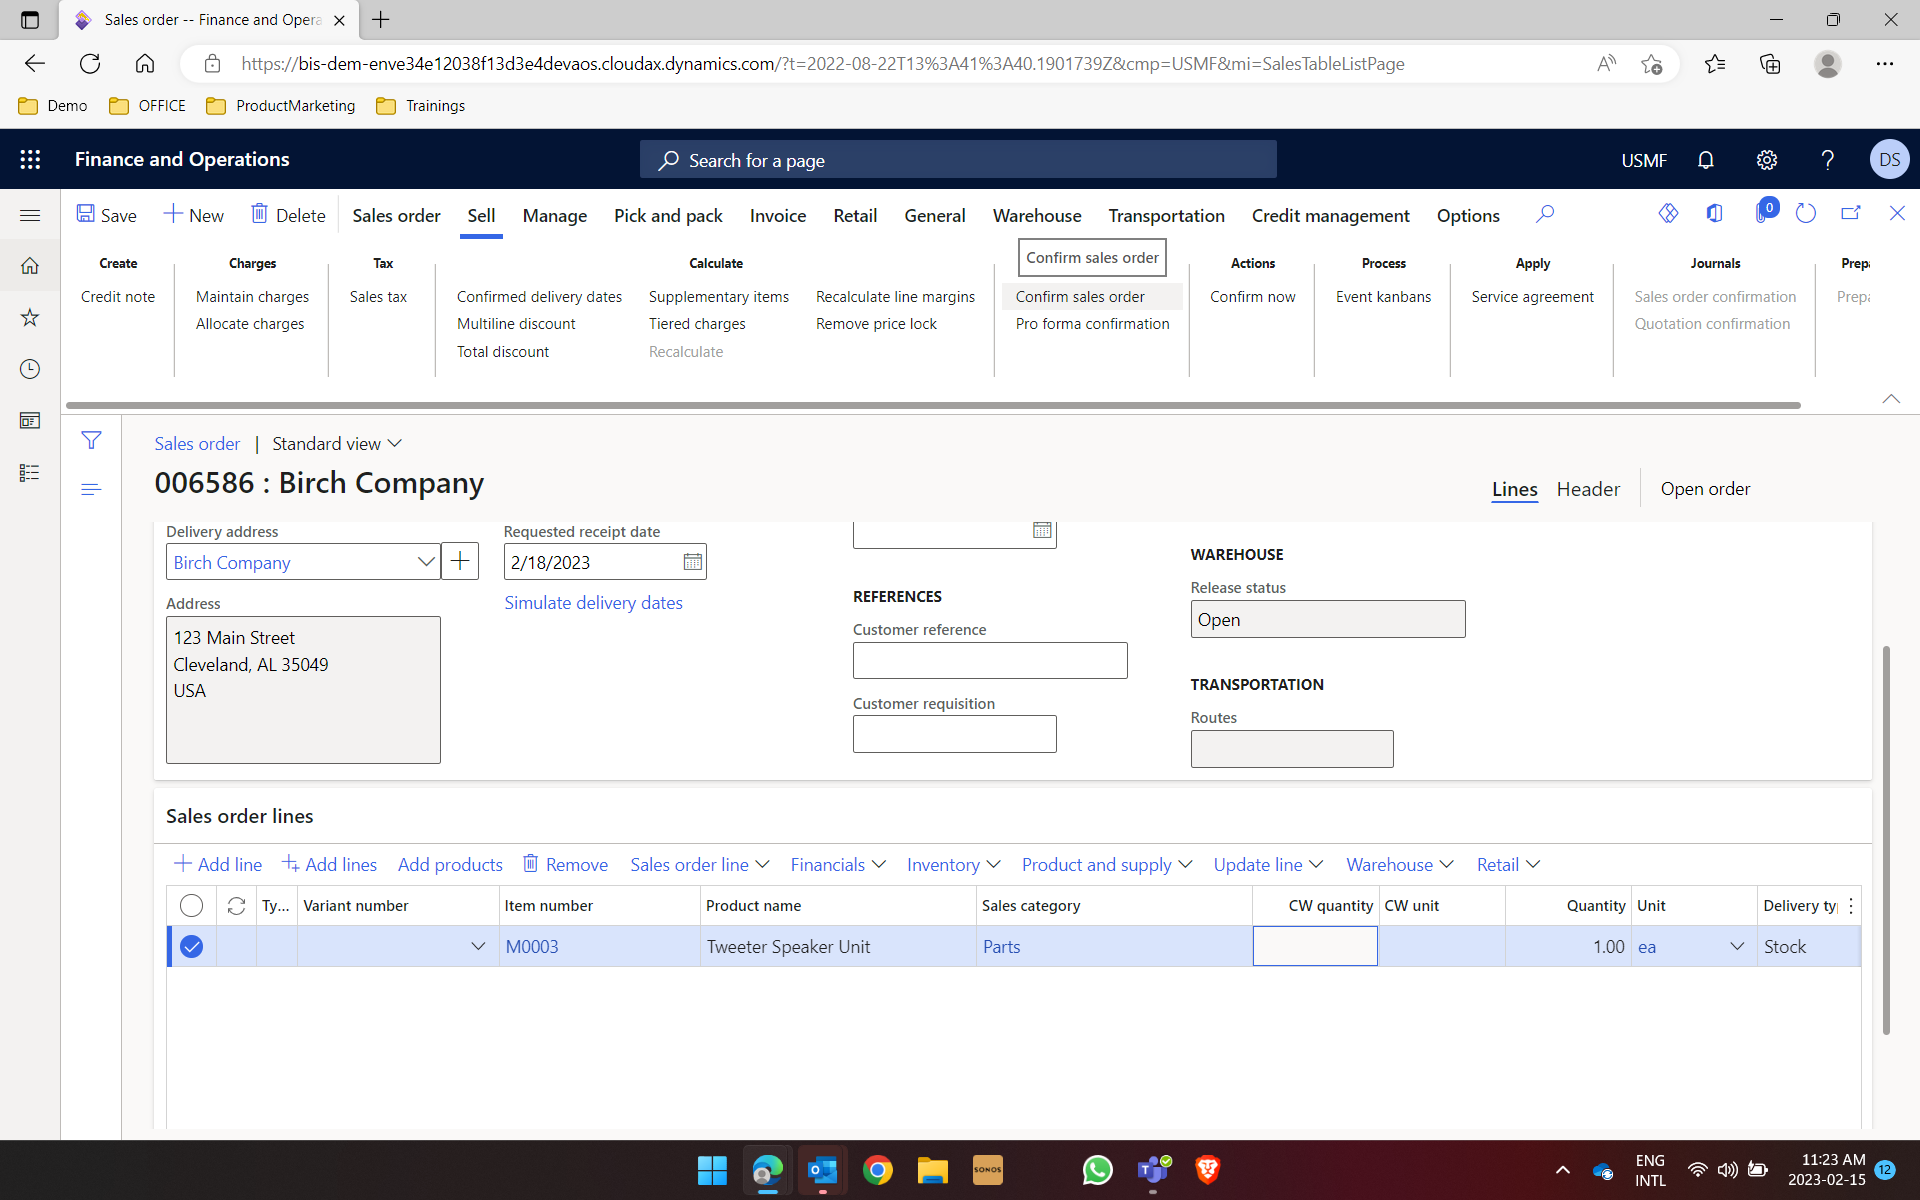
After that step, you get a screen with all the details of the order with the different tables. You can check the order before you click on OK and confirm the order.
Once you implement EDI Studio, orders can be processed and transferred into XML files such as shown below. This is the first message that needs to be shared with the customer after the sales order has been confirmed.

Step 4
The next step is to create a picking list and then posting the packing slip to the customer. Both of these options are available under the Pick and Pack tab. Under the Generate sub tab, you click on Generate a picking list. You can check the information, click on the lines for items to be selected and then click on OK.
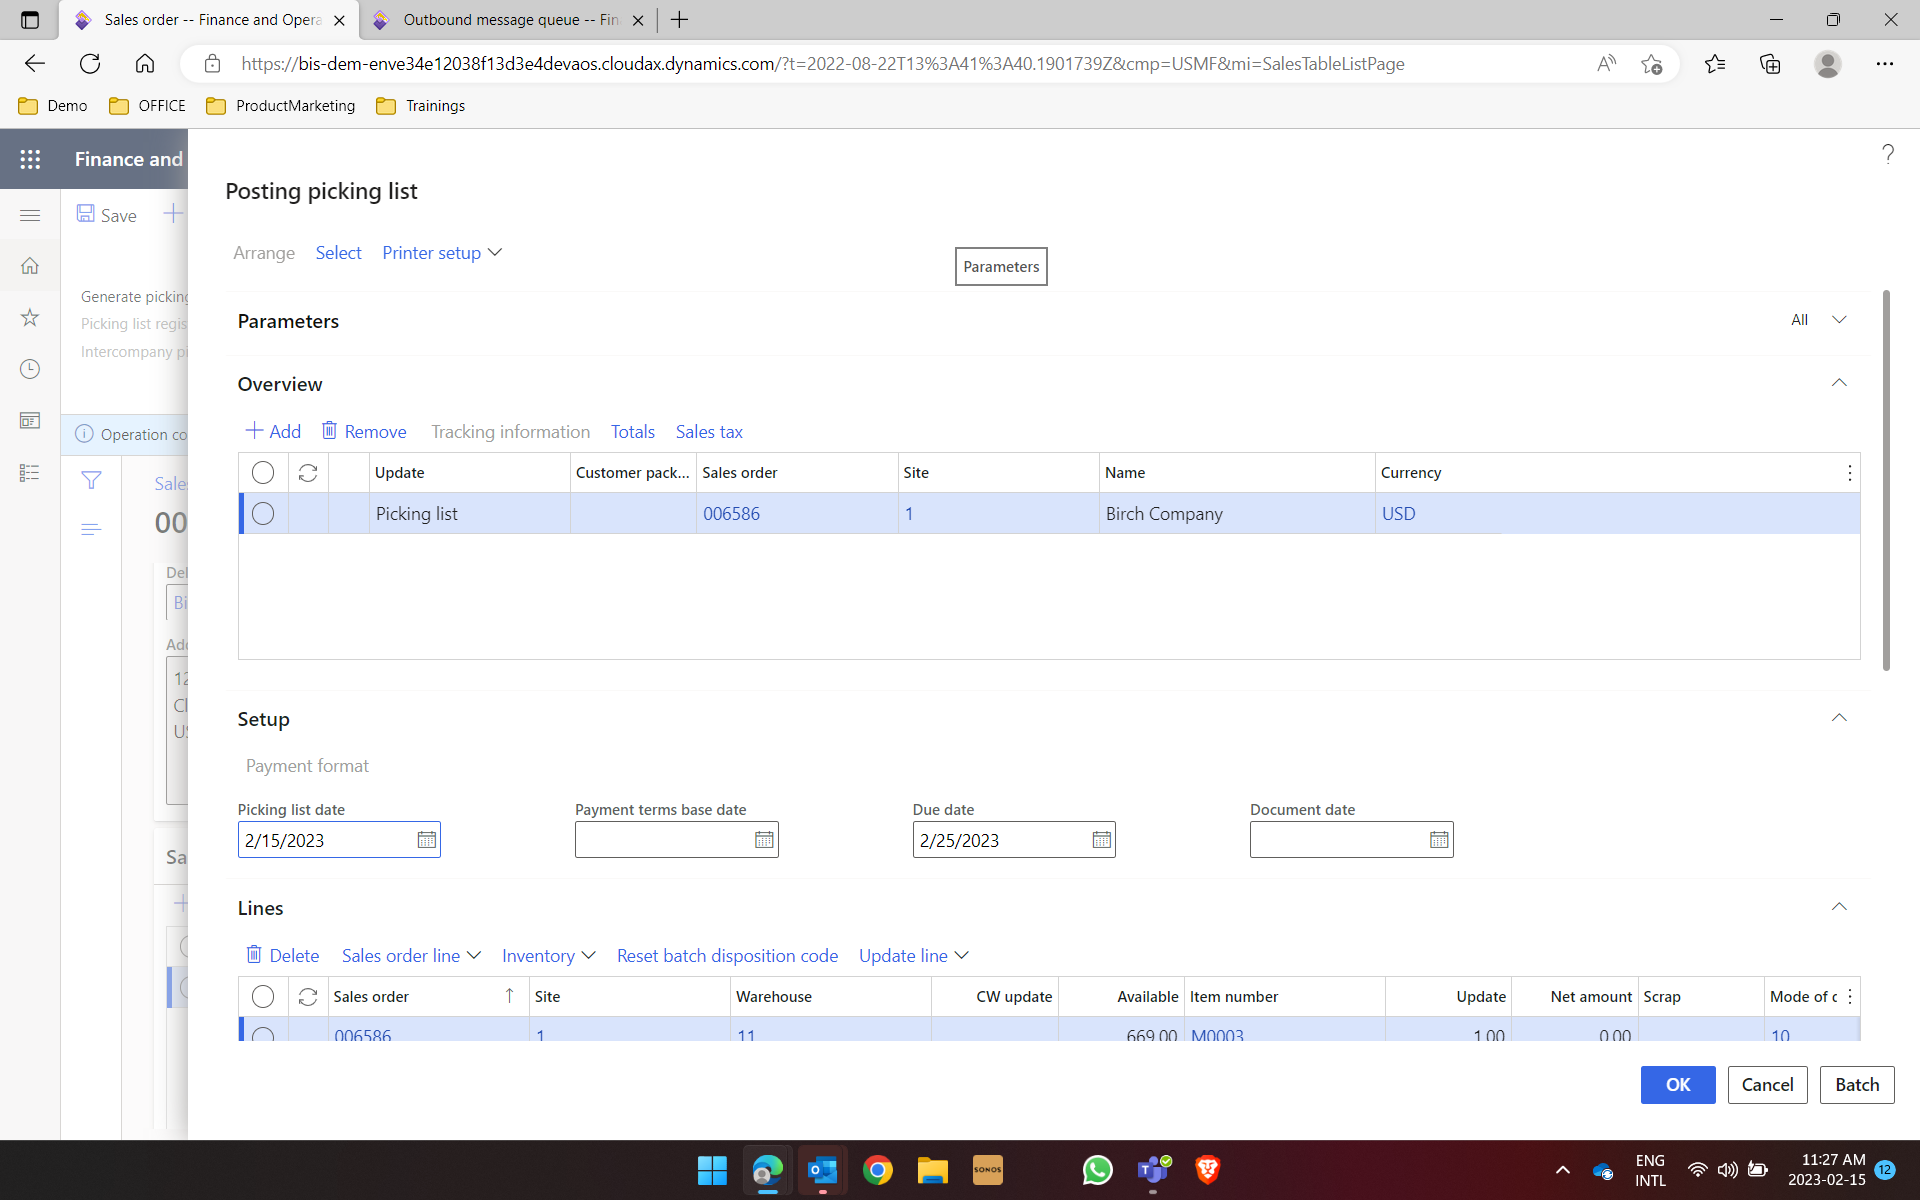
Next before posting the packing slip, you need to register the items in the Picking list registration which you will find under the same Generate sub-tab under the Pick and Pack tab. In the Picking list registration, you need to select the lines with the product details that were filled in Step 2 and then click on Update all under the Update tab and the list will be registered and the items will show as Completed.

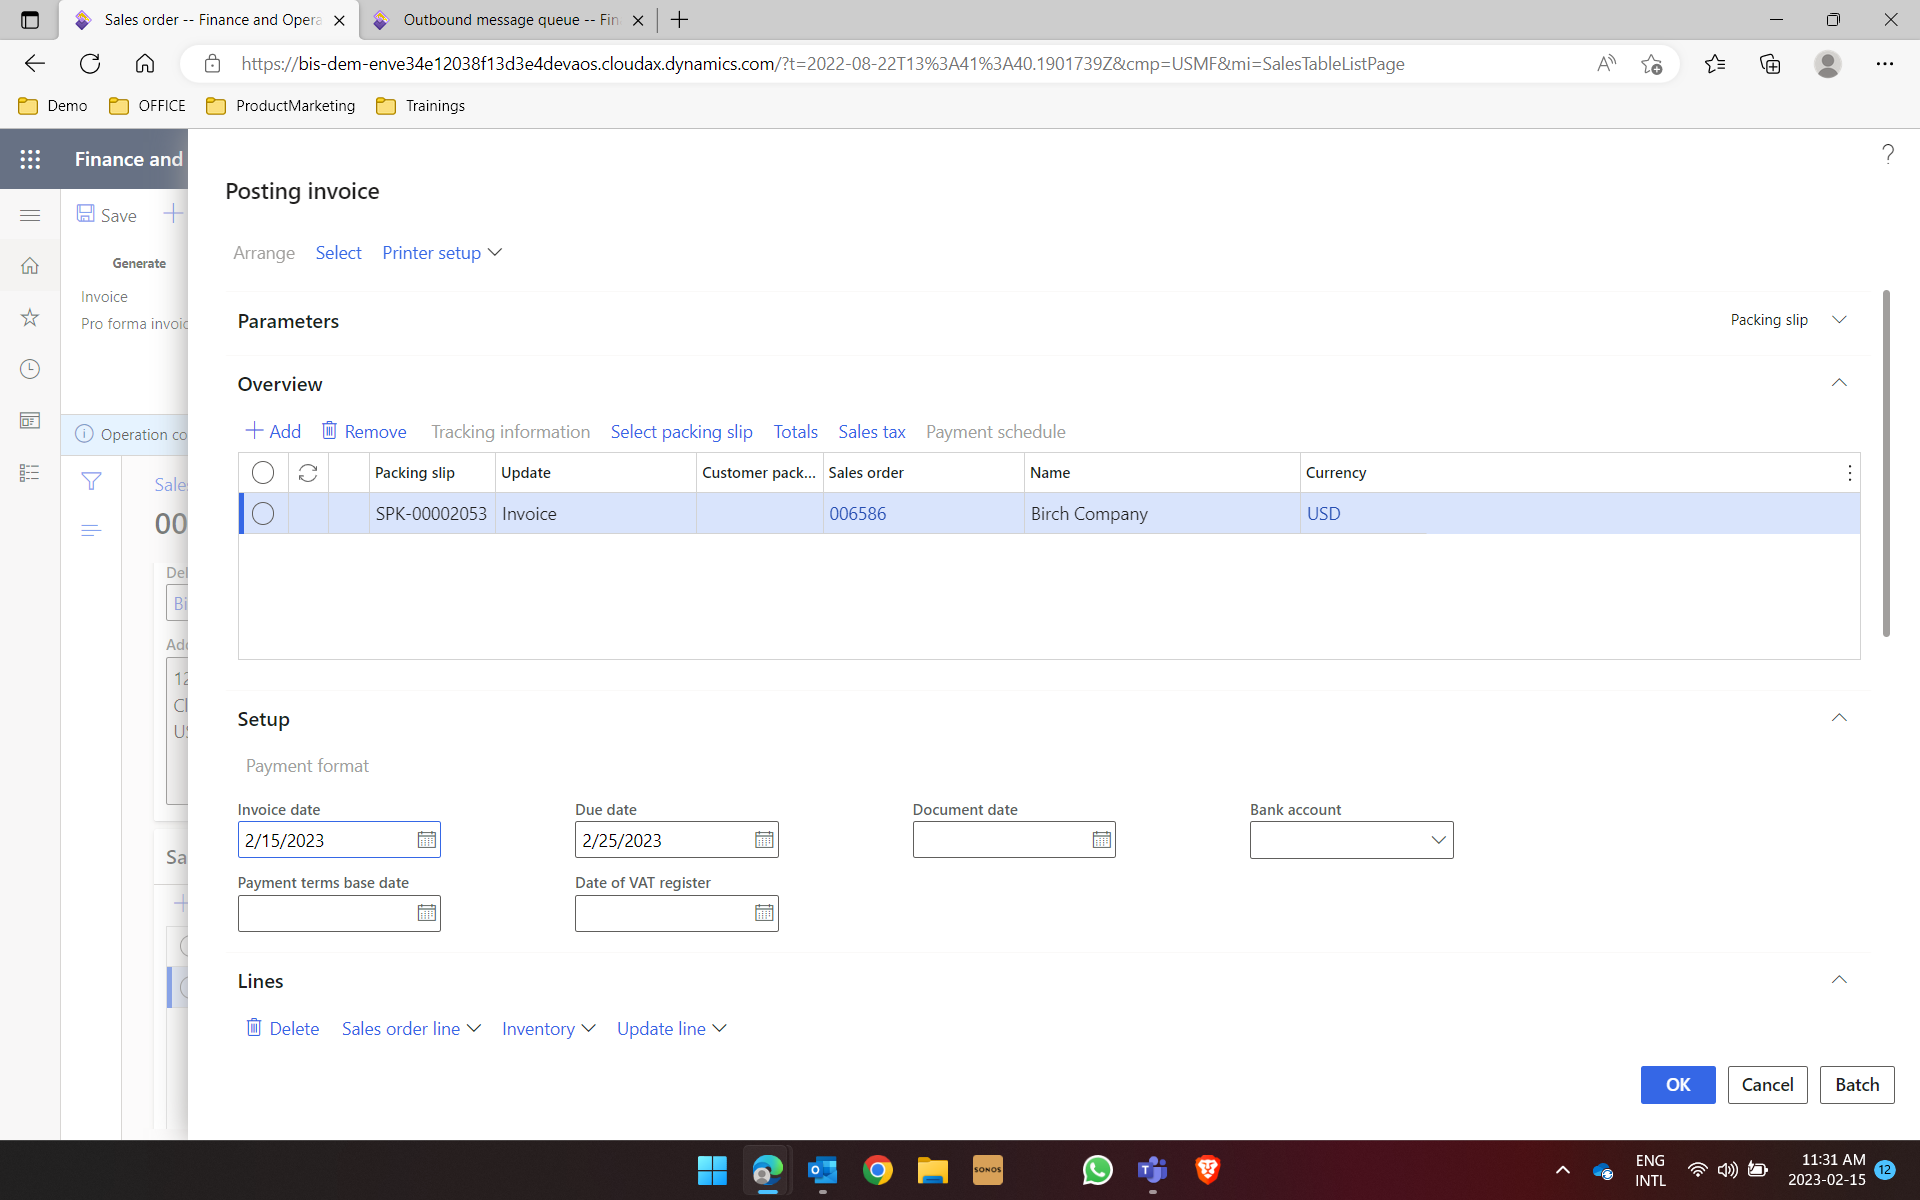
Step 5
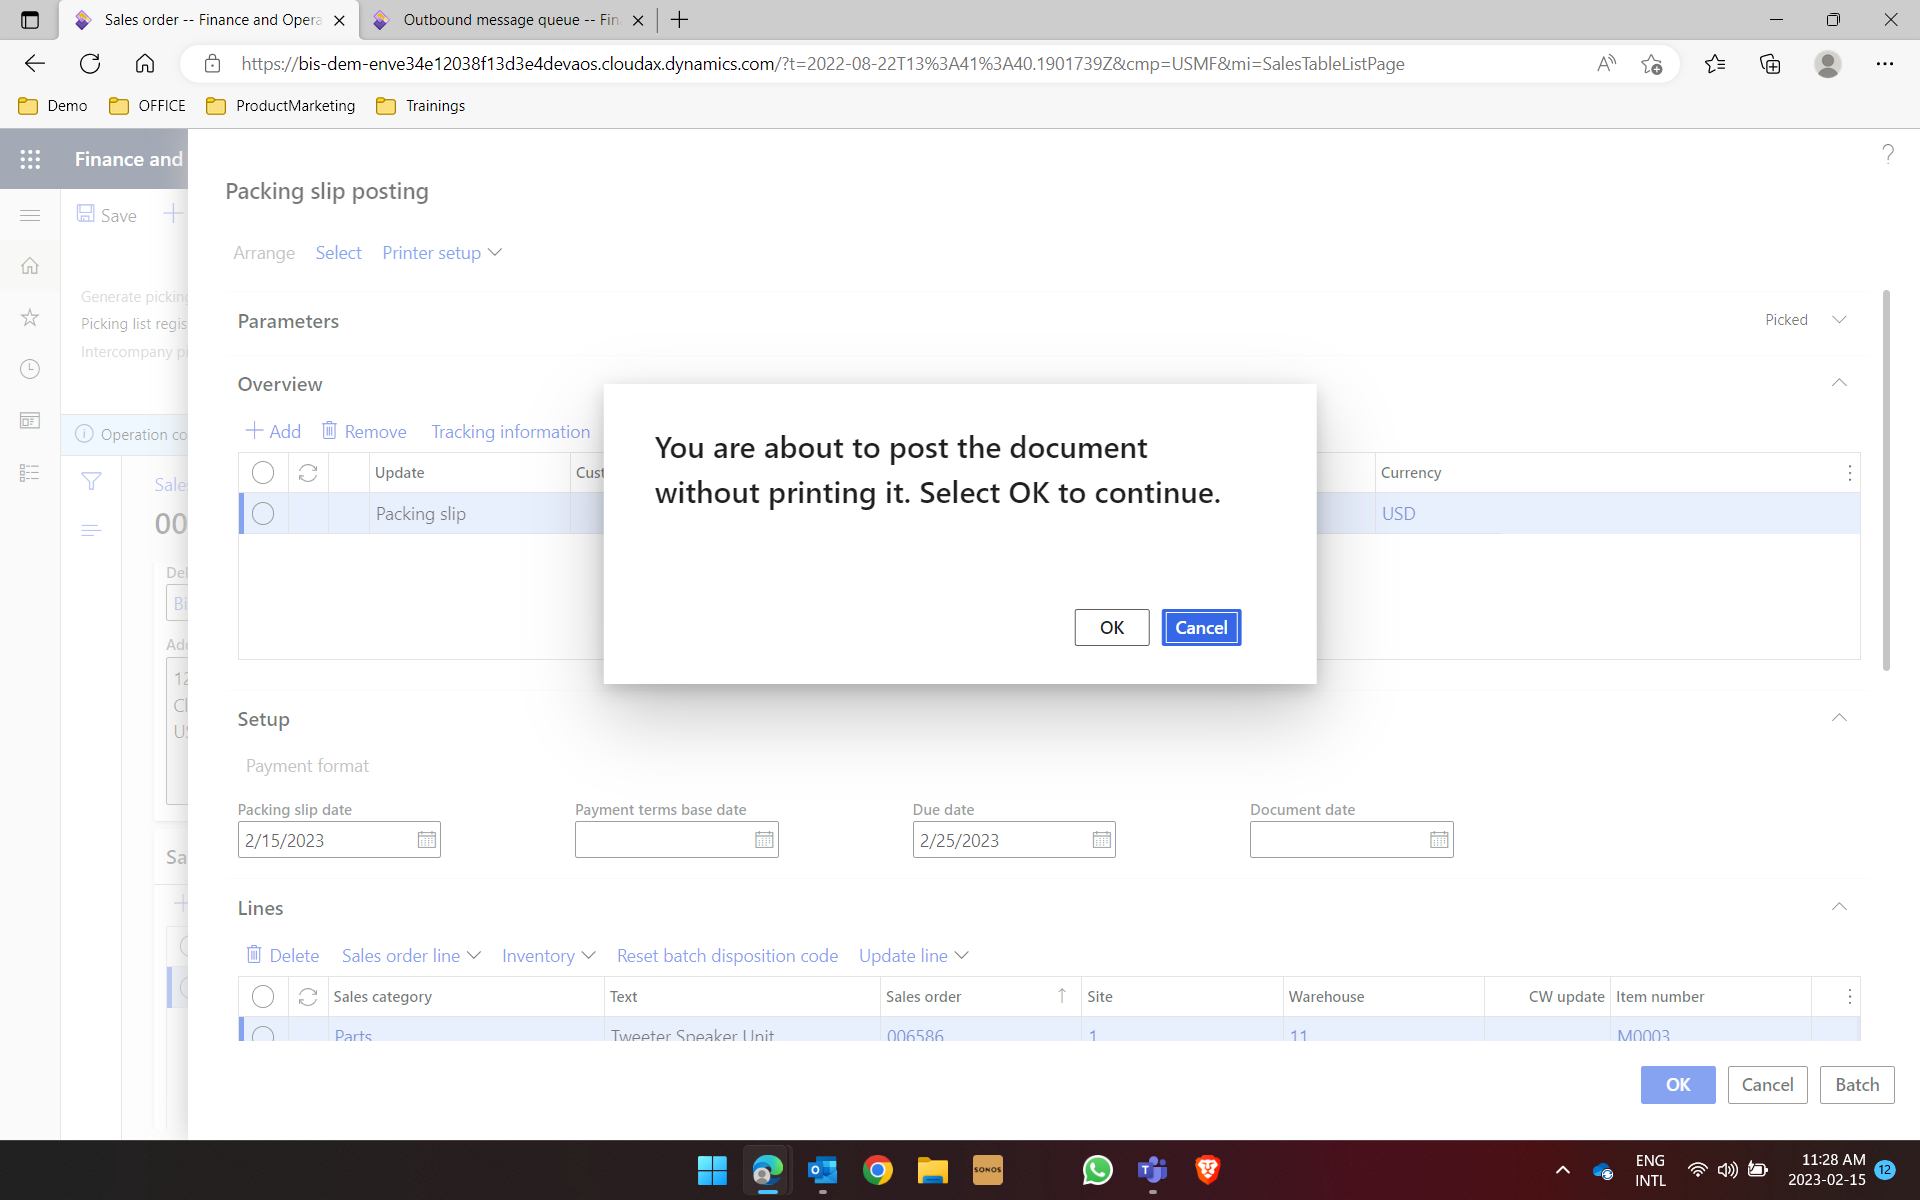
After this step, you can generate the Packing slip. You will see the picking slip details and the lines that you filled in with information on product quantity, item number, etc. You can click on OK if all the items are correctly entered.
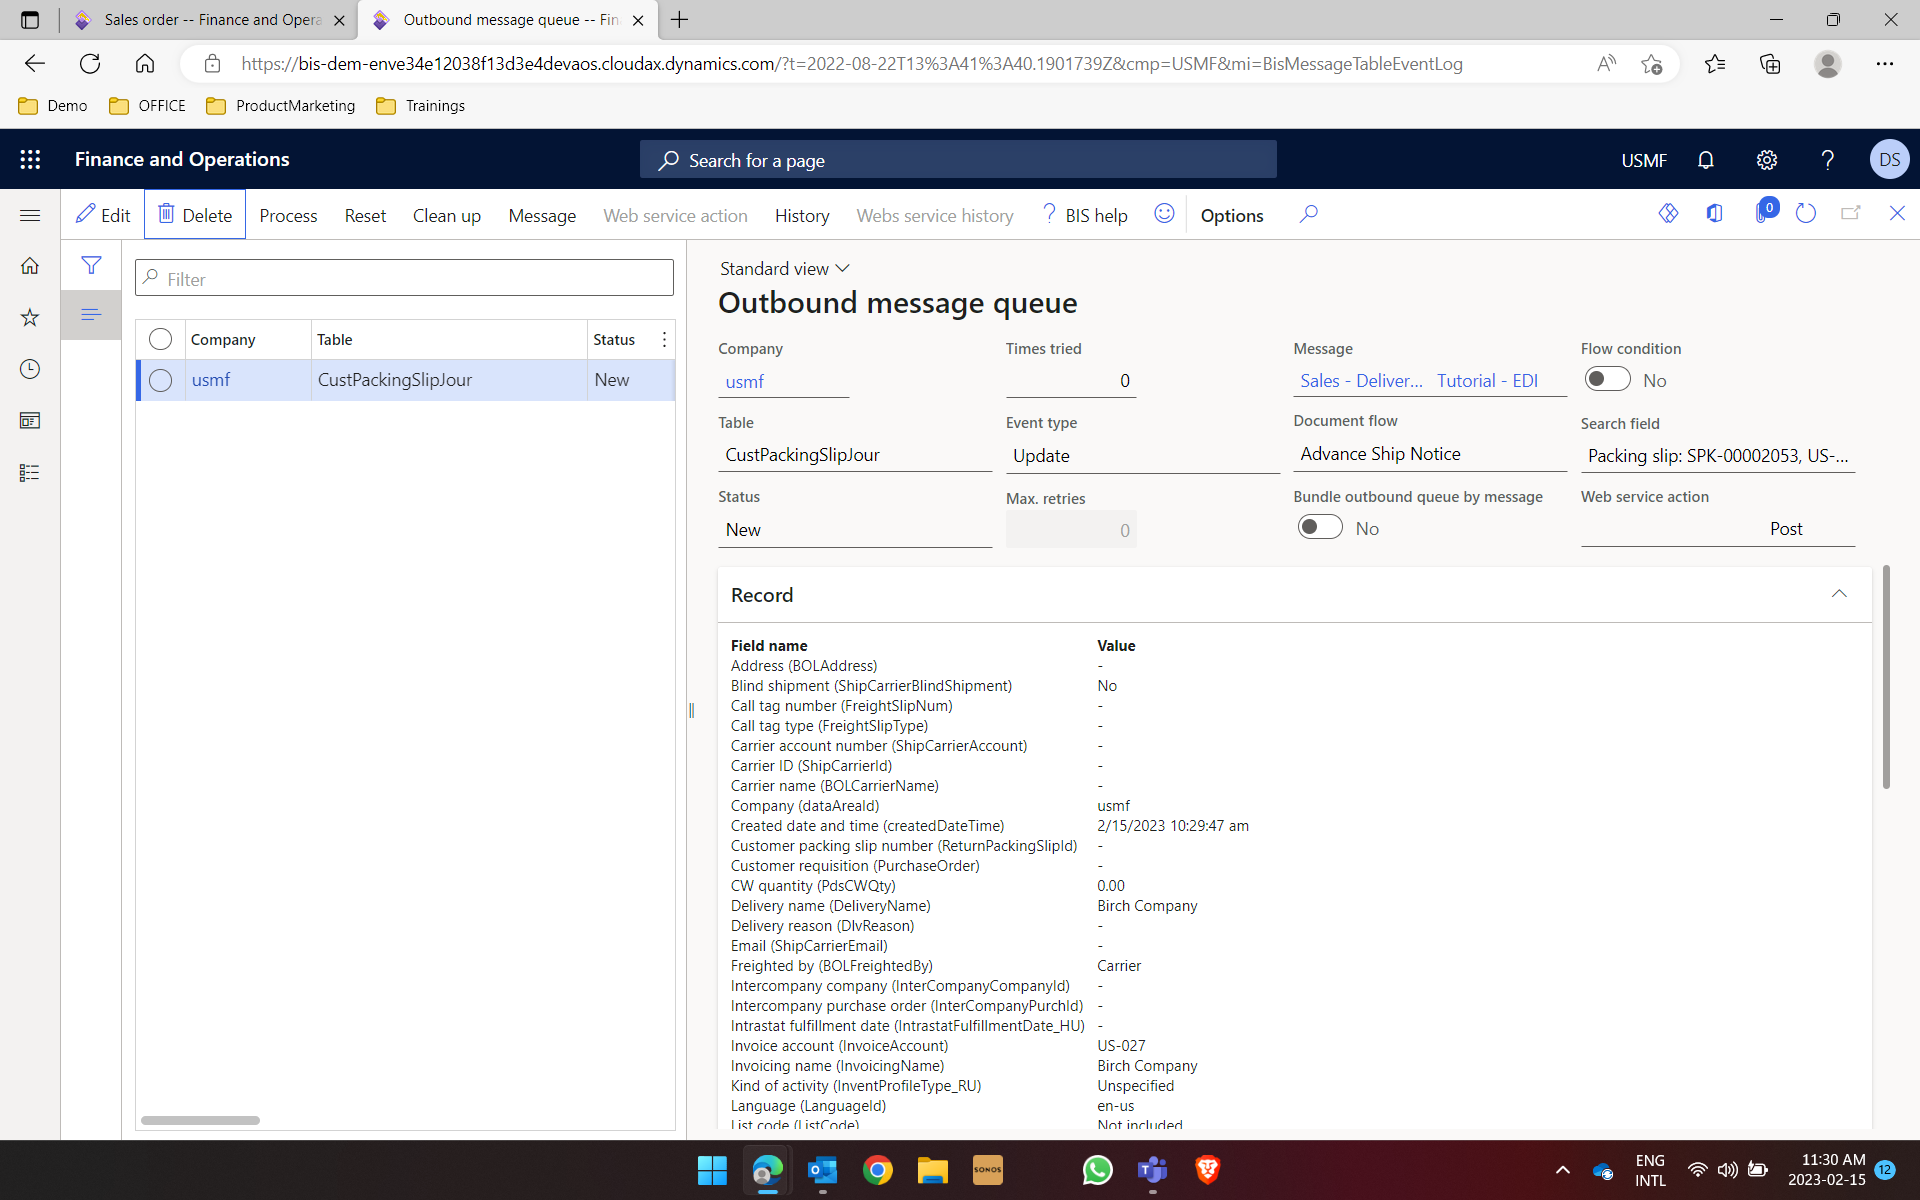
Once this is done, in the outbound message queue, you can see a packing slip is ready that can be shipped for the order.
Step 6
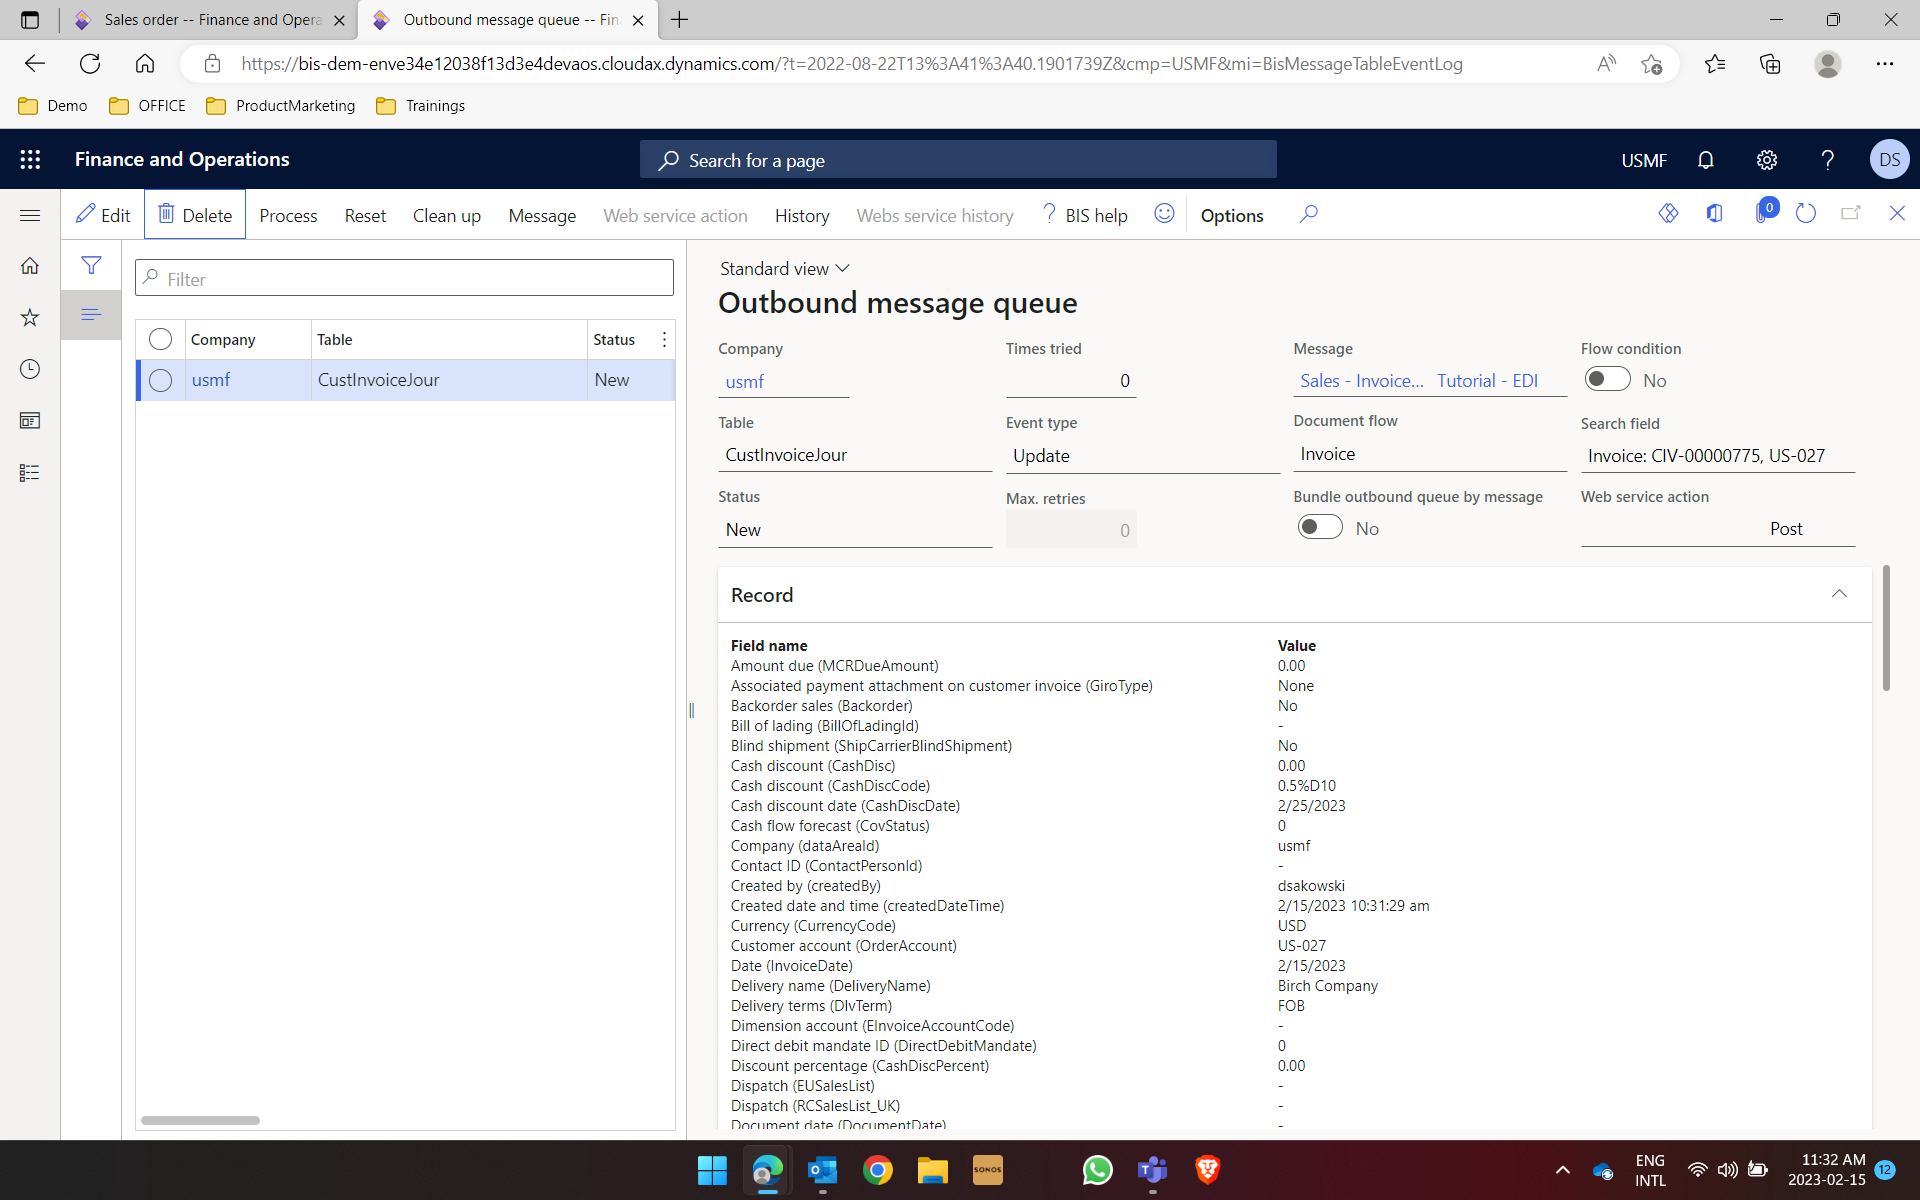
The last step to complete this transaction is generating an invoice for the customer. You go to the Invoice tab and click on invoice. In the invoice you will see details regarding the order and the packing slip information.
Once you click on OK and generate the invoice, you will see the third message being generated in the outbound message queue and the invoice is shared with the customer.
Why Use EDI Studio for Dynamics 365?
In this demo, we have demonstrated the ease of using EDI Studio for Microsoft Dynamics 365 users. As you have seen in our article, our solutions allow users to share important documents back and forth based on electronic data interchange technology, and the standards and formats adopted. Since EDI Studio is embedded in Microsoft Dynamics, our solution is easy to use for users already familiar with the ERP.
Additionally, having an Embedded EDI Solution in D365 means enhanced visibility, easier troubleshooting data validation and processing, and a streamlined process. Additionally, our solutions work well and are tested prior to any Microsoft upgrades.
If you use D365 and understand the benefits of using an integrated solution, do explore the benefits and features of our EDI Solution by downloading the factsheet from the link below.
.png)


